🚀 Elevate your Pi projects with pro-grade 8MP clarity!
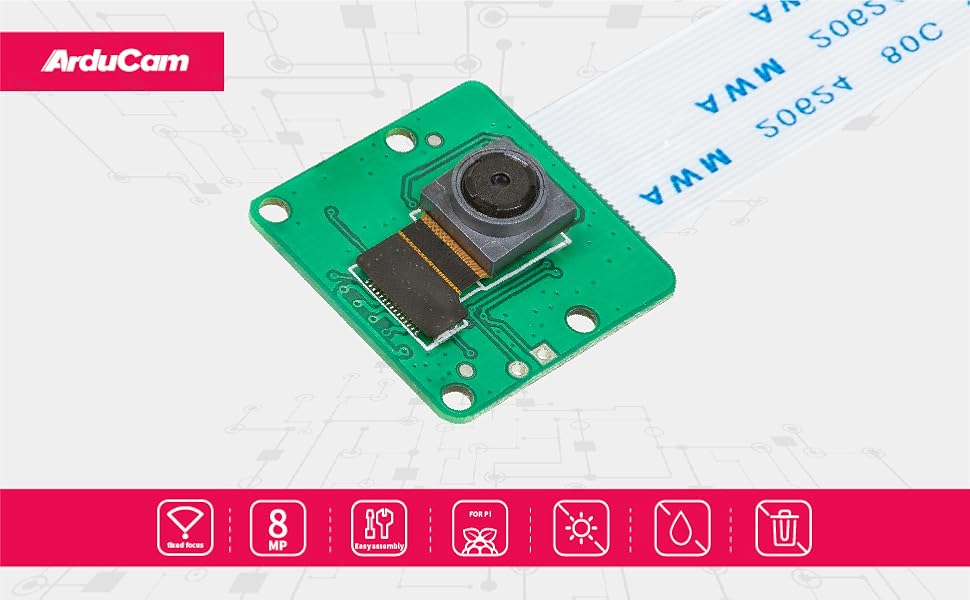
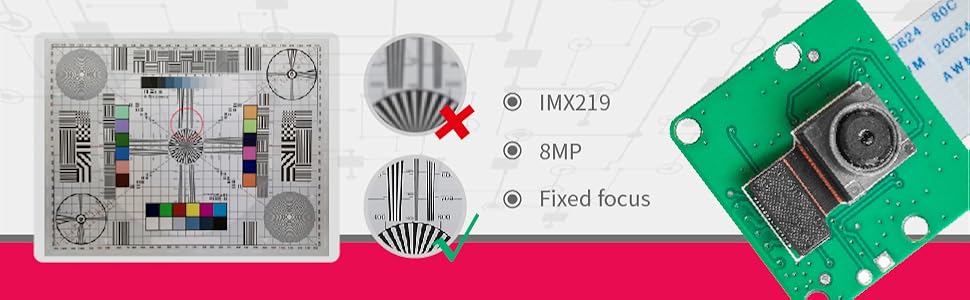
The Arducam 8MP IMX219 Camera Module delivers high-resolution 3280×2464 images and 1080P video, compatible with all Raspberry Pi models including Pi 5 and Zero 2W. Featuring a fixed focus lens with a 62.2° field of view and easy plug-and-play setup via included flex cables, it supports the latest Raspberry Pi OS Bullseye and libcamera for enhanced performance. Perfect for advanced imaging applications from security to creative time-lapses.


| RAM | LPDDR2 |
| Wireless Type | Infrared |
| Brand | Arducam |
| Series | Arducam |
| Item model number | B0390 |
| Operating System | Raspberry Pi OS |
| Item Weight | 0.317 ounces |
| Package Dimensions | 2.09 x 1.65 x 0.75 inches |
| Color | IMX219 |
| Number of Processors | 1 |
| Manufacturer | Arducam |
| ASIN | B09V576TFN |
| Date First Available | March 9, 2022 |
J**K
Good little camera for Pi
Nice camera, pretty good value for the money. The camera takes nice pictures and works pretty seamlessly with the Pi (3B+ in my case). The ribbon cables are notoriously fickle for long distances, so if you plan on using a long cable look into an hdmi extender.
J**C
Good timelapse quality in low light.
I own 2 of these and find them satisfactory. The autofocus is sharp and ideal for rooms or static areas. The autofocus is a little choppy monitoring my yard on breezy days using rpicam scripts. I have not used this with python. The picture quality is good, and for timelapse at night is very good.
N**N
Easy setup on pi 3
Module works fine with the Pi4. Easy setup, mainly plug and get programming
G**N
You are on your own.
The camera and cables are neatly tucked into a static proof bag, with a red slip of paper wrapped around everything saying FOLLOW INSTRUCTION MANUAL. Well there is a sheet of paper within. It has two images showing how to connect the cables...important info. Then there is a internet link which says its a quick start guide. So the webite is an "404 error" on Arducam website. So there is no manual, no instructions. Just figure it out yourself...no warranty since you aren't following the imaginary manual
B**E
Inconsistent product
I ordered two of these. One came as advertised with a 15 pin CSI connector and a couple of accessory cables; this one was labeled v2.2 rev D. The other came with a 22 pin CSI connector and no accessory cables; this one was labeled v2.3 rev E. Packaging were identical for both, SKU was identical (B0390), purchased at the same time.This camera advertises 15 pin CSI connector with accessory cables. Not sure what happened with the second camera but seems like there is some QA that ArduCam needs to be doing.
S**R
Camera for robot
Works perfectly and fi thr robot im using it for
K**N
It worked. Helpful hints to use. Documentation not great on wiring.
My setup was for a Raspberry Pi Zero W. I am on Bookworm.Turn on SSH and save yourself the headache.Note: There is no camera option in the raspi-config for Bookworm. Don't look for it. Go to Arducam and follow directions for your specific OS.And the most important part. That made it really hard to set up. THE RIBBON CABLE FACES AWAY FROM THE BOARD. As in the silver connections do not go toward the board. They go away from it. Doesn't make sense. That's how it's made.But it works for what I need it. I have it on a Prusa MK3S+. I can see the printer without turning on the lights. The ambient light is just enough. Good luck.
J**E
Works great, after hours of research
Great little camera, but I had to do a ton of research online. I installed it on a Pi 5, MIPI DSI 0. Not only had to monkey around with the /boot/firmware/config.txt a number of times, but also had to mess with a few different libraries/packages. It comes with two ribbon cables and on a Pi 5, the one you want is the narrow one on both ends. What irks me beyond reproach, is the fact that there is no standard for these camera manufacturers. Installing the ribbon goes one way for one, but the other way on another. And as far as the web goes, when trying to find out which way to insert the ribbon, you'll find it described both ways at a number of sites. It's quite frustrating. After a few tries, and tearing the hell out of the Pi 5 CSI socket, I finally got it to work. For this camera, the ribbon contacts go towards the ethernet port on a Pi 5, and the contacts go towards the back side of the camera.
Trustpilot
Hace 3 semanas
Hace 5 días